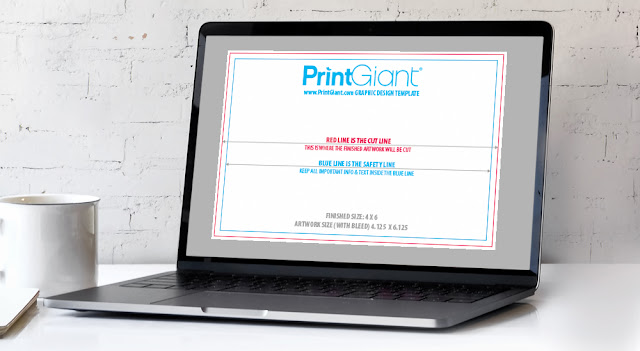
We make it easy to provide your own graphic design for printed products by supplying product templates for every product, in every size. Our templates are designed specifically for our system and take into account many things that you or your designer may not be aware of. These templates will help speed your jobs through production by minimizing common errors and should be used every time you submit your artwork to print.
This guide will teach you how to use our supplied templates.
1) Download your template from the products page
On the left side of the products page, click the “templates” tab (next to the “product info”).
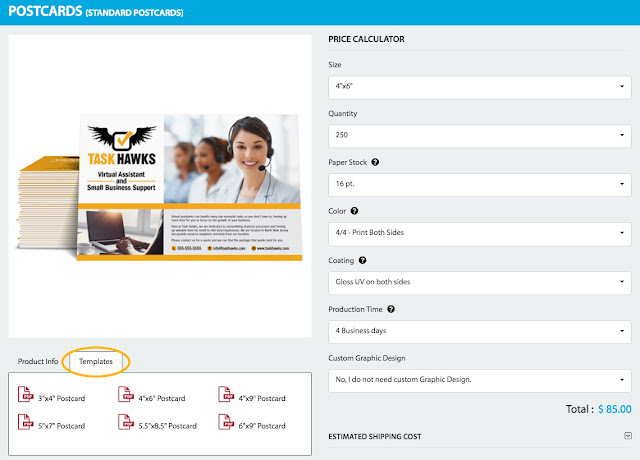
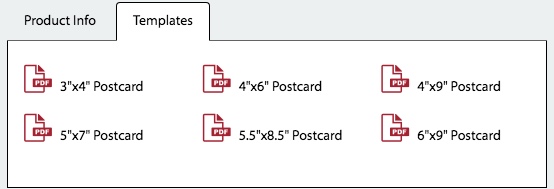
2) Select the product size
Simply click the size product you would like to design and a vector based PDF template will automatically download.
3) Open the template in your design software
Our templates are vector-based and can be opened in all Adobe CC design software.
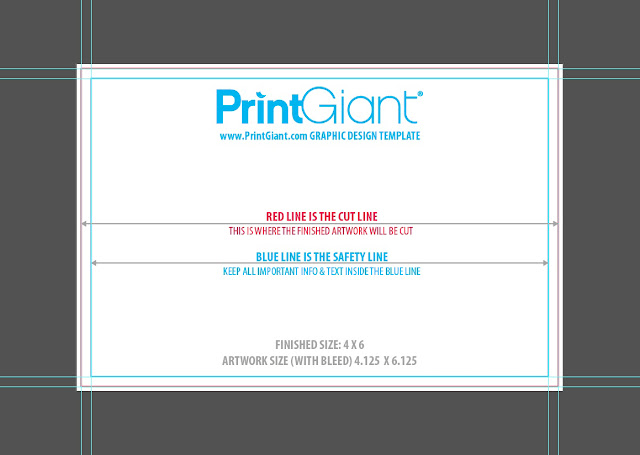
All templates will indicate the following:
• Artwork size (with bleeds)
• Finished Size
• Cut Line (red). This is where your artwork will be cut. Anything outside this line is considered your bleeds.
• Safety Line (blue). All important information must be inside this area.
• Fold Lines (green) if applicable
4) Design your artwork on layers ON TOP of the template
The template should always be your base layer. Make sure your artwork extends past the bleeds and covers the full canvas.
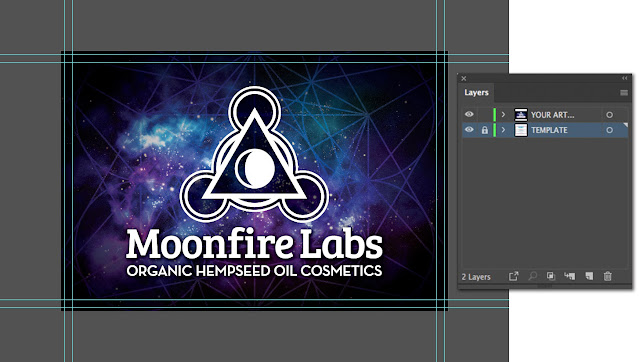
5) Save your artwork
When you are finished, delete the template layer and export your artwork as a 300dpi, flattened PDF.
